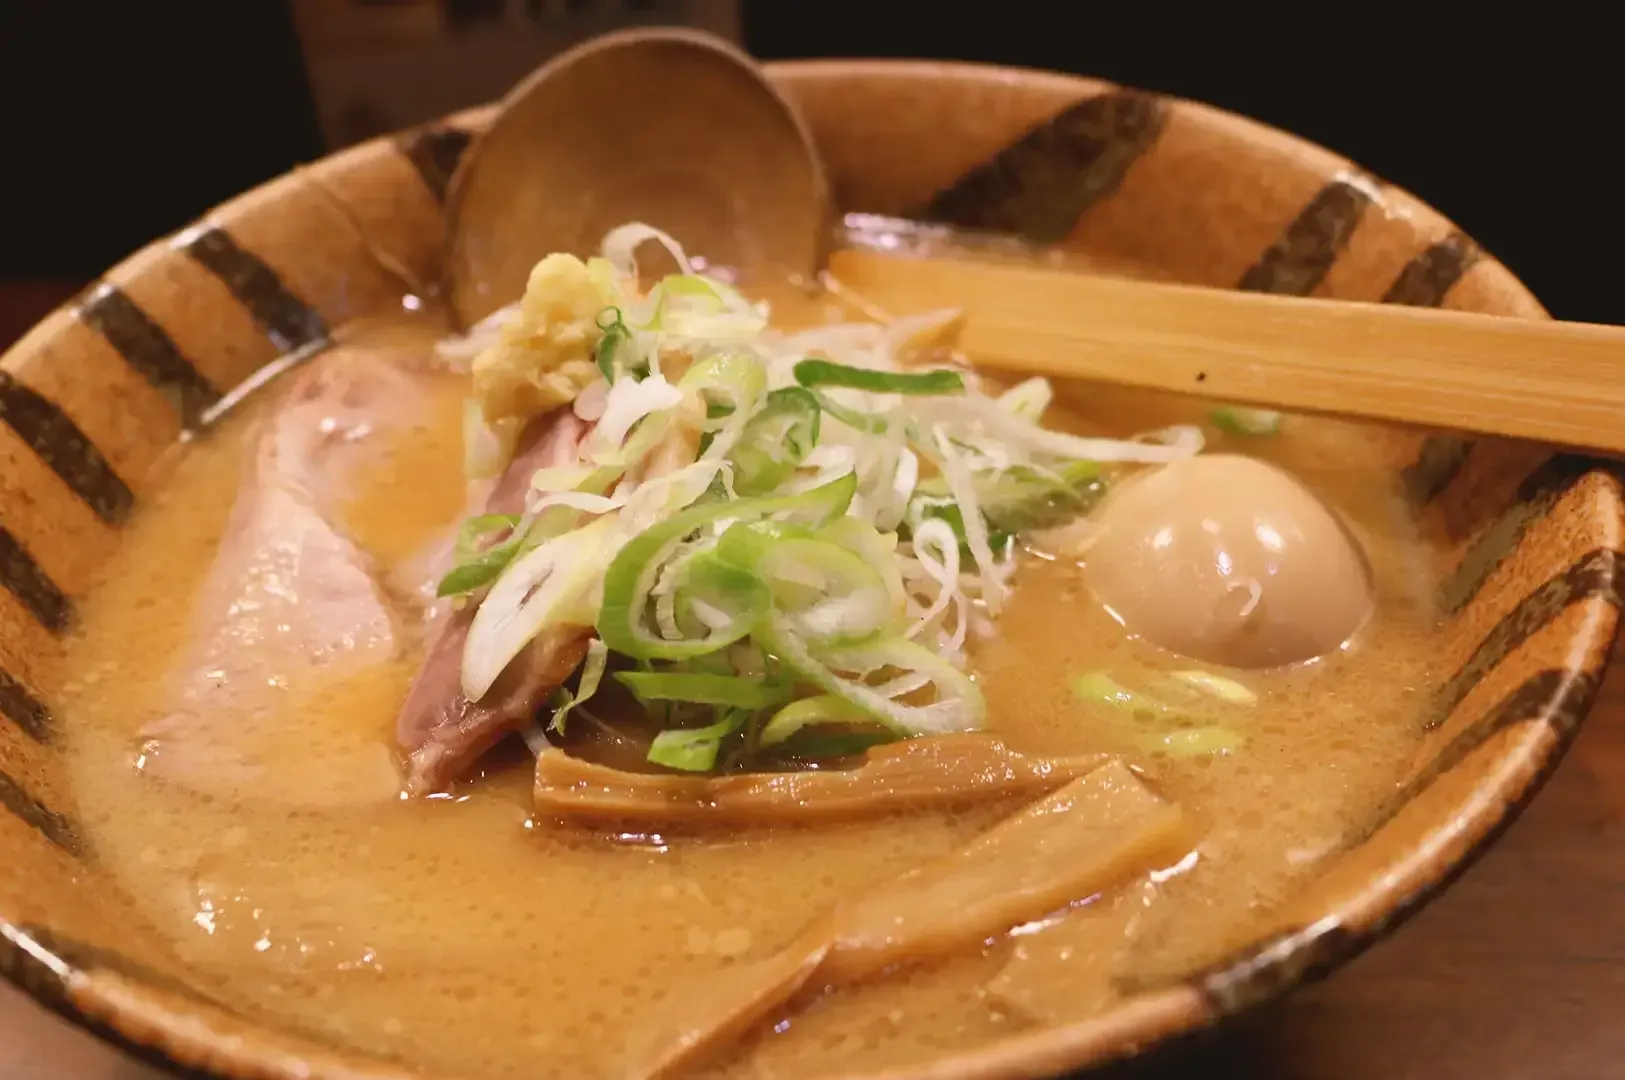
Inside the Stockpot: How to Make Ramen Broth from the Ground Up
The first time I made ramen broth from scratch, I was so proud of it. The kitchen smelled amazing, the stock pot had been bubbling for hours, and I ladled it straight over my noodles. Then I took a sip. It tasted like warm, slightly meaty water.
I'd skipped the one thing that turns stock into ramen soup: the seasoning. That flat, disappointing bowl taught me more about how to make ramen broth than any recipe ever had.
If you've ever wanted to make a delicious ramen bowl at home in Singapore that tastes close to what you get at a ramen-ya, this guide is for you. I'll walk you through the main types of ramen broth, how
tare works, and a step-by-step method you can follow on a slow weekend. I'll also share the mistakes I made so you can skip them..
What Makes Good Ramen Broth So Special
Ramen broth is the heart of the bowl of ramen. The noodles and toppings matter, but the soup base is what you remember.
Here's what surprised me most: In many ramen styles, the stock is kept relatively lightly seasoned, while much of the salt and concentrated flavour comes from tare added when the bowl is assembled.
When you taste plain ramen broth, you're tasting bones, vegetables, and umami, but not much salt. The real flavor comes when you mix that stock with a concentrated seasoning base called tare. Think of it as two parts that only work together.
Once I understood that, everything clicked.
B. Miso Ramen: Matching Bold Flavours With Smoky Seafood
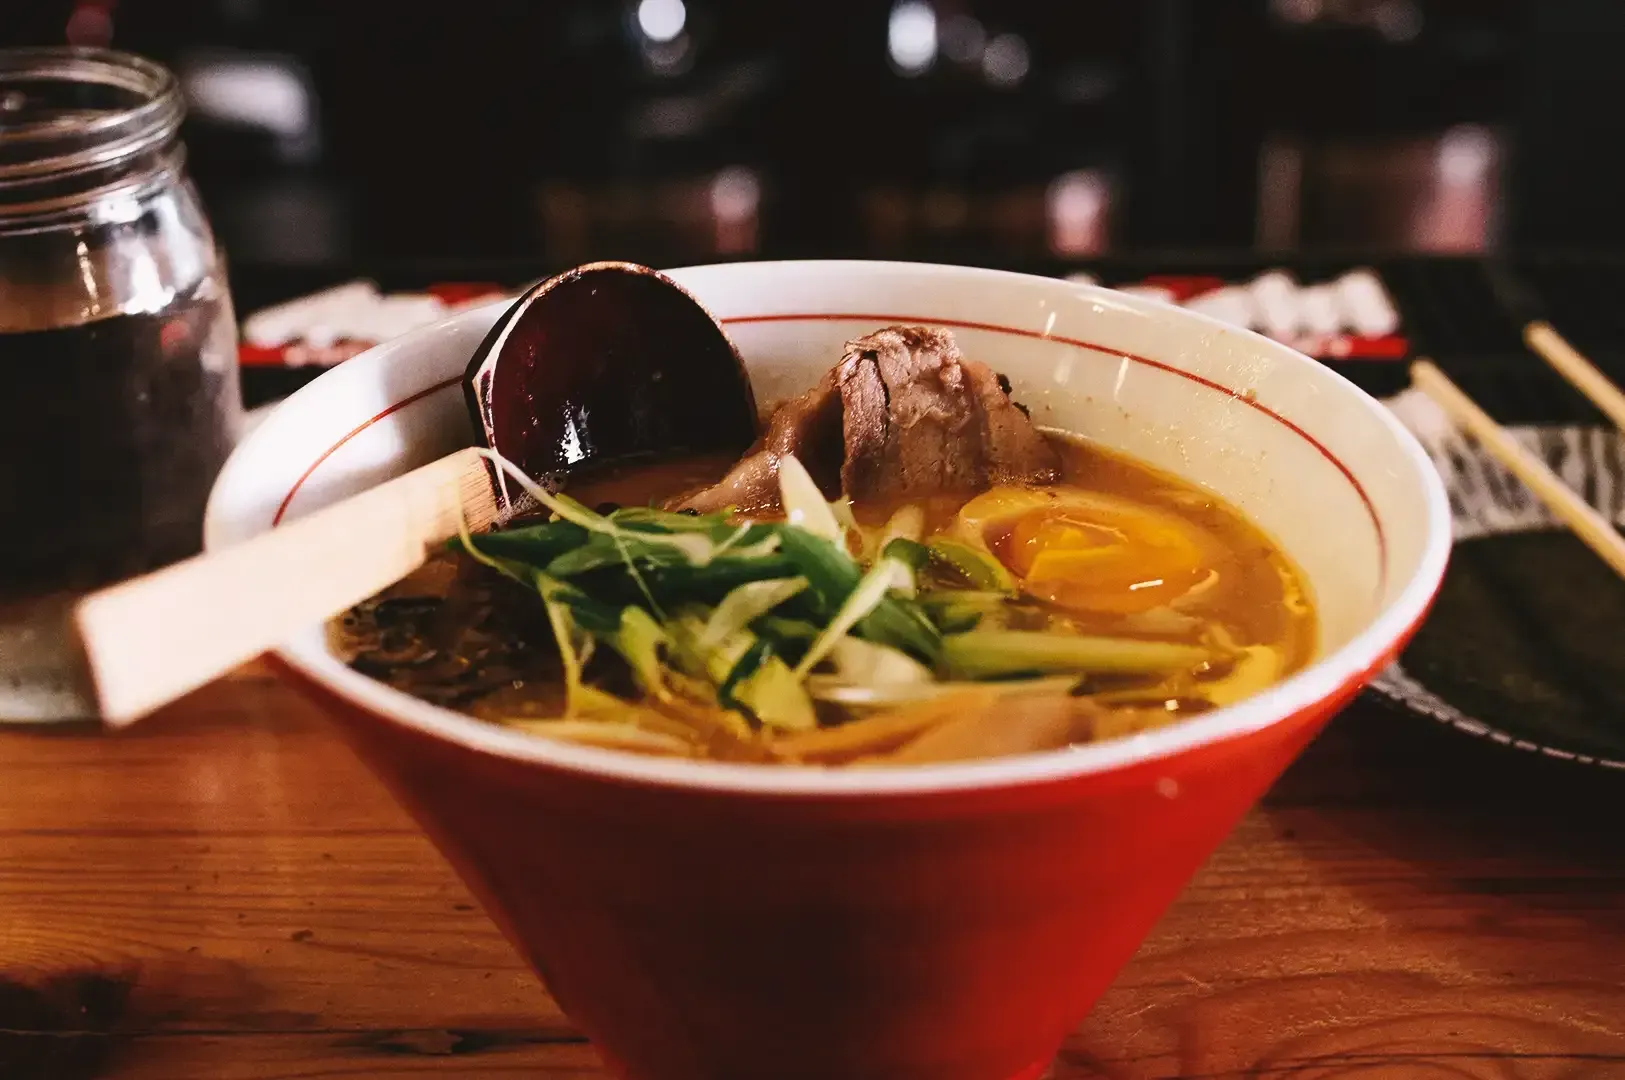
Miso ramen brings a different kind of depth. Fermented soybean paste gives the broth a savoury, slightly salty complexity, layered with stronger umami notes and often a swirl of chili oil or a base of soy sauce. It is hearty and full-bodied, the sort of bowl that lingers.
Three Common Ramen Broth Approaches
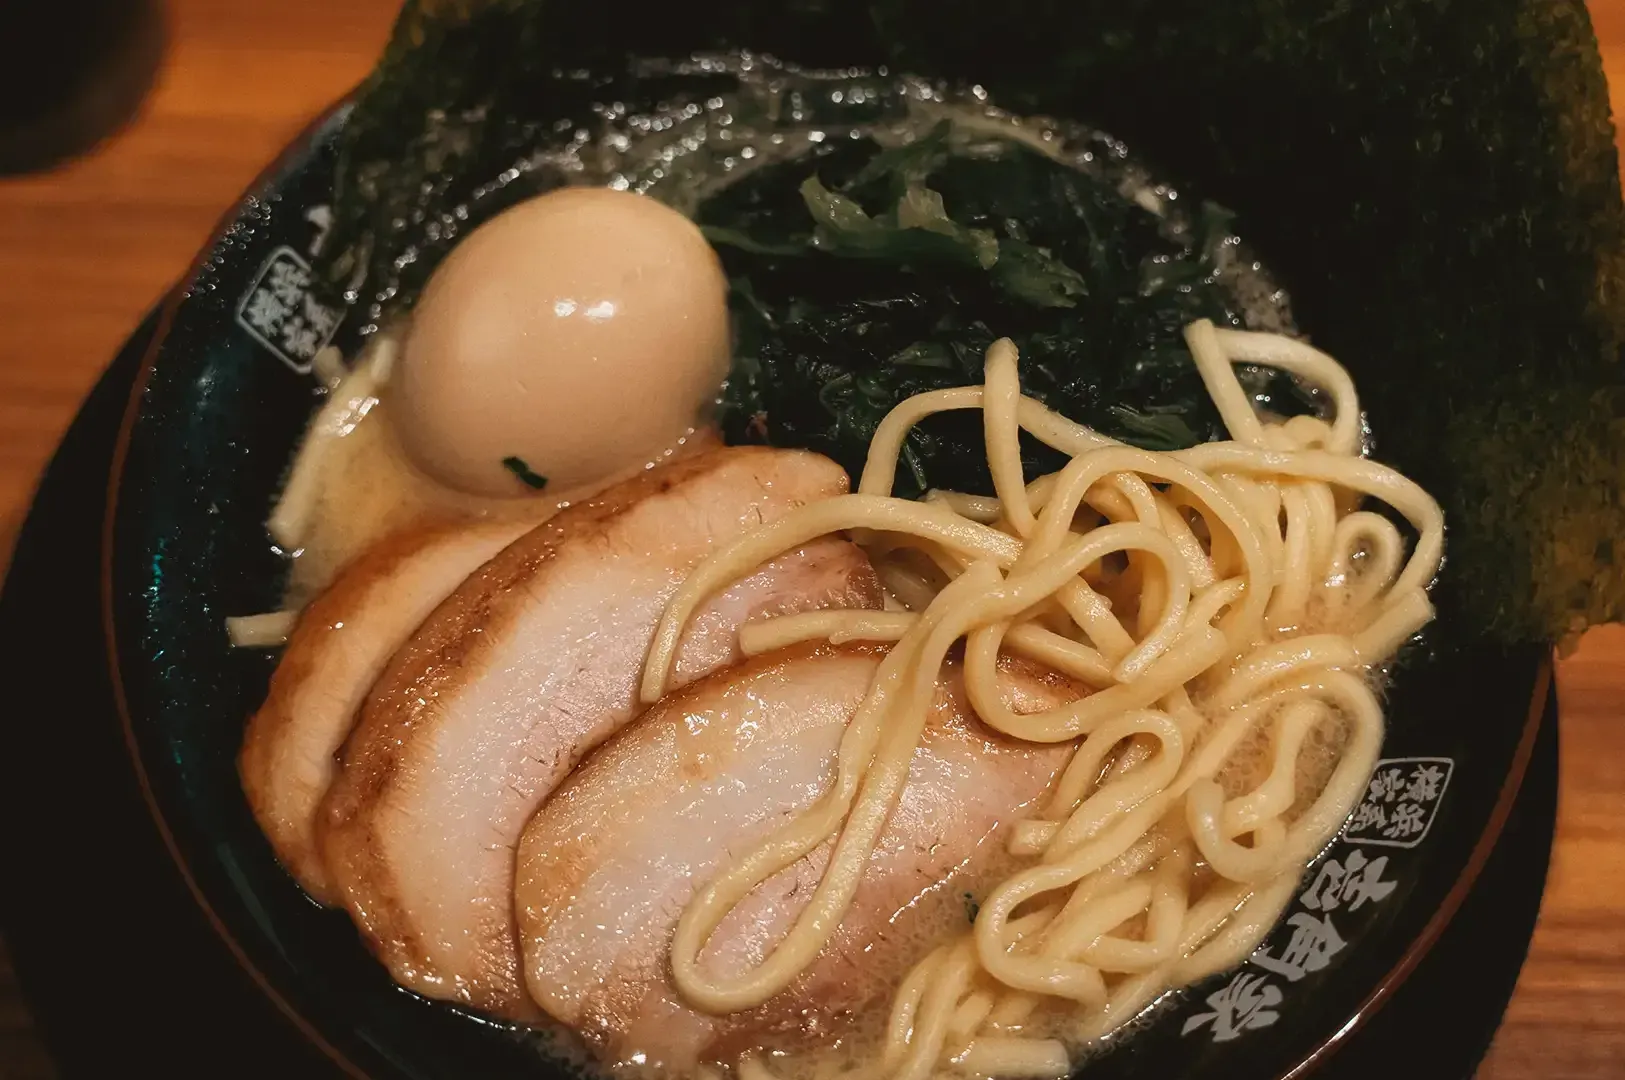
Ramen broth falls into three broad groups based on ingredients.
Chicken Broth
This is a clear, clean broth made mainly from chicken carcasses. It's light but full of flavor, and I think it's the friendliest place for beginners to start.
Combination Broth
This style blends chicken broth with Japanese dashi made from kelp, bonito flakes, and dried shiitake mushrooms. The two kinds of umami stack together, giving you a flavorful broth with real depth. It's my personal favorite for home cooking.
Tonkotsu Ramen Broth
Tonkotsu broth is made from
pork bones boiled until the broth turns creamy and milky white. It's rich, heavy, and very satisfying, the star of any great recipe for tonkotsu ramen.
3. Light Ramen And Traditional Sushi: Keeping Flavours Delicate
Why the Chicken Carcass Matters
If you're wondering why so many recipes start with a chicken carcass, there's a good reason. Chicken carcasses contain plenty of glutamic acid, one of the key umami compounds. That's what forms the savory base of the soup cuisine.
Chicken feet, known in Japan as "momiji," are also popular because they add body. If you can't find them, chicken wings work well. Chicken wings can add extra flavour, gelatin, and body while still working well in a relatively clear chicken stock.
In Singapore, I've found that wet market poultry stalls and butchers are your best bet for carcasses and feet. Just ask, since they're not always on display.
Insider knowledge: Ginger, garlic, green onions, and a splash of sake aren't just there for flavor. They help hide the gamey smell of the chicken carcass. A whole onion adds natural sweetness and vitamin C too.
What It Takes to Make Good Tonkotsu Ramen Broth
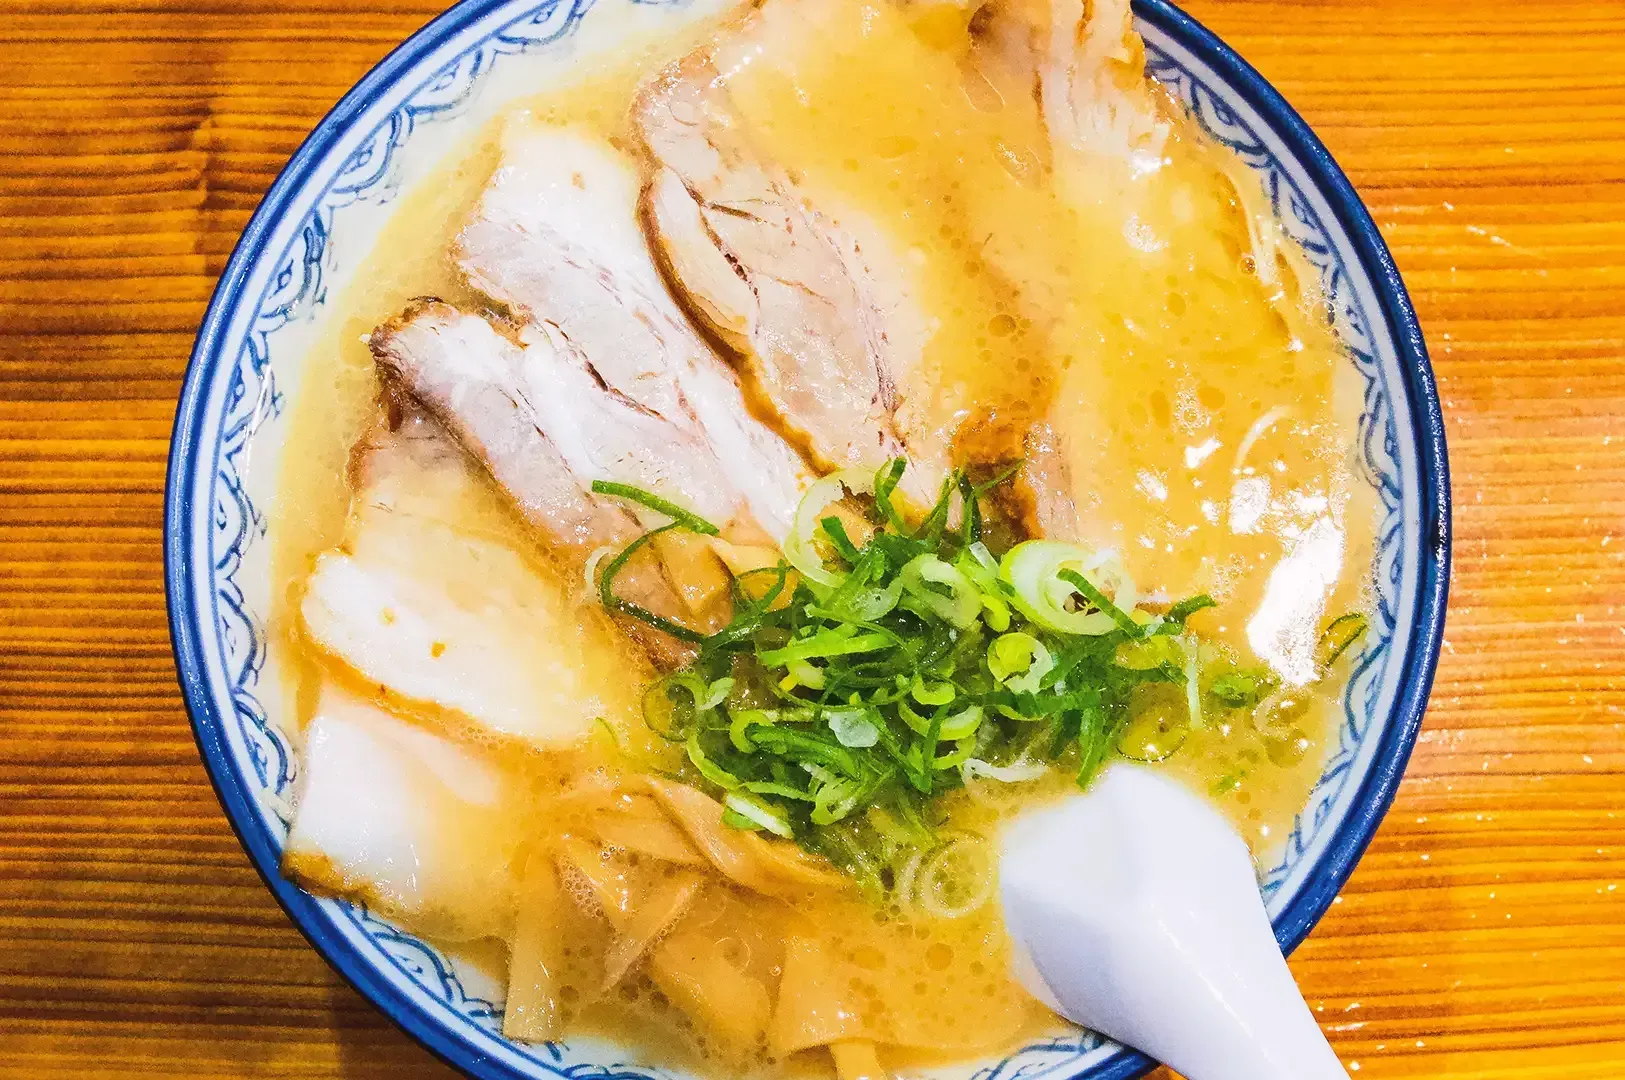
I'll be honest with you: a true, good tonkotsu ramen broth is a serious commitment. Tonkotsu typically requires several hours of vigorous boiling to extract gelatin and emulsify fat into the broth; some shops cook it much longer depending on the style they want. Some professional shops cook their bones for 12 to 15 hours until they start breaking down all the bones.
That's a lot of stovetop time, especially in a warm Singapore kitchen.
My suggestion? Start with a hybrid. The method below uses both pork bones and chicken carcasses, so you get a hint of tonkotsu flavor in about 2 to 3 hours. If you love it, try a longer simmer next time. A gentle simmer will build body and flavour, while a stronger boil promotes the emulsification that gives tonkotsu its cloudy white appearance.
Tare: The Secret That Turns Stock Into Noodle Soup
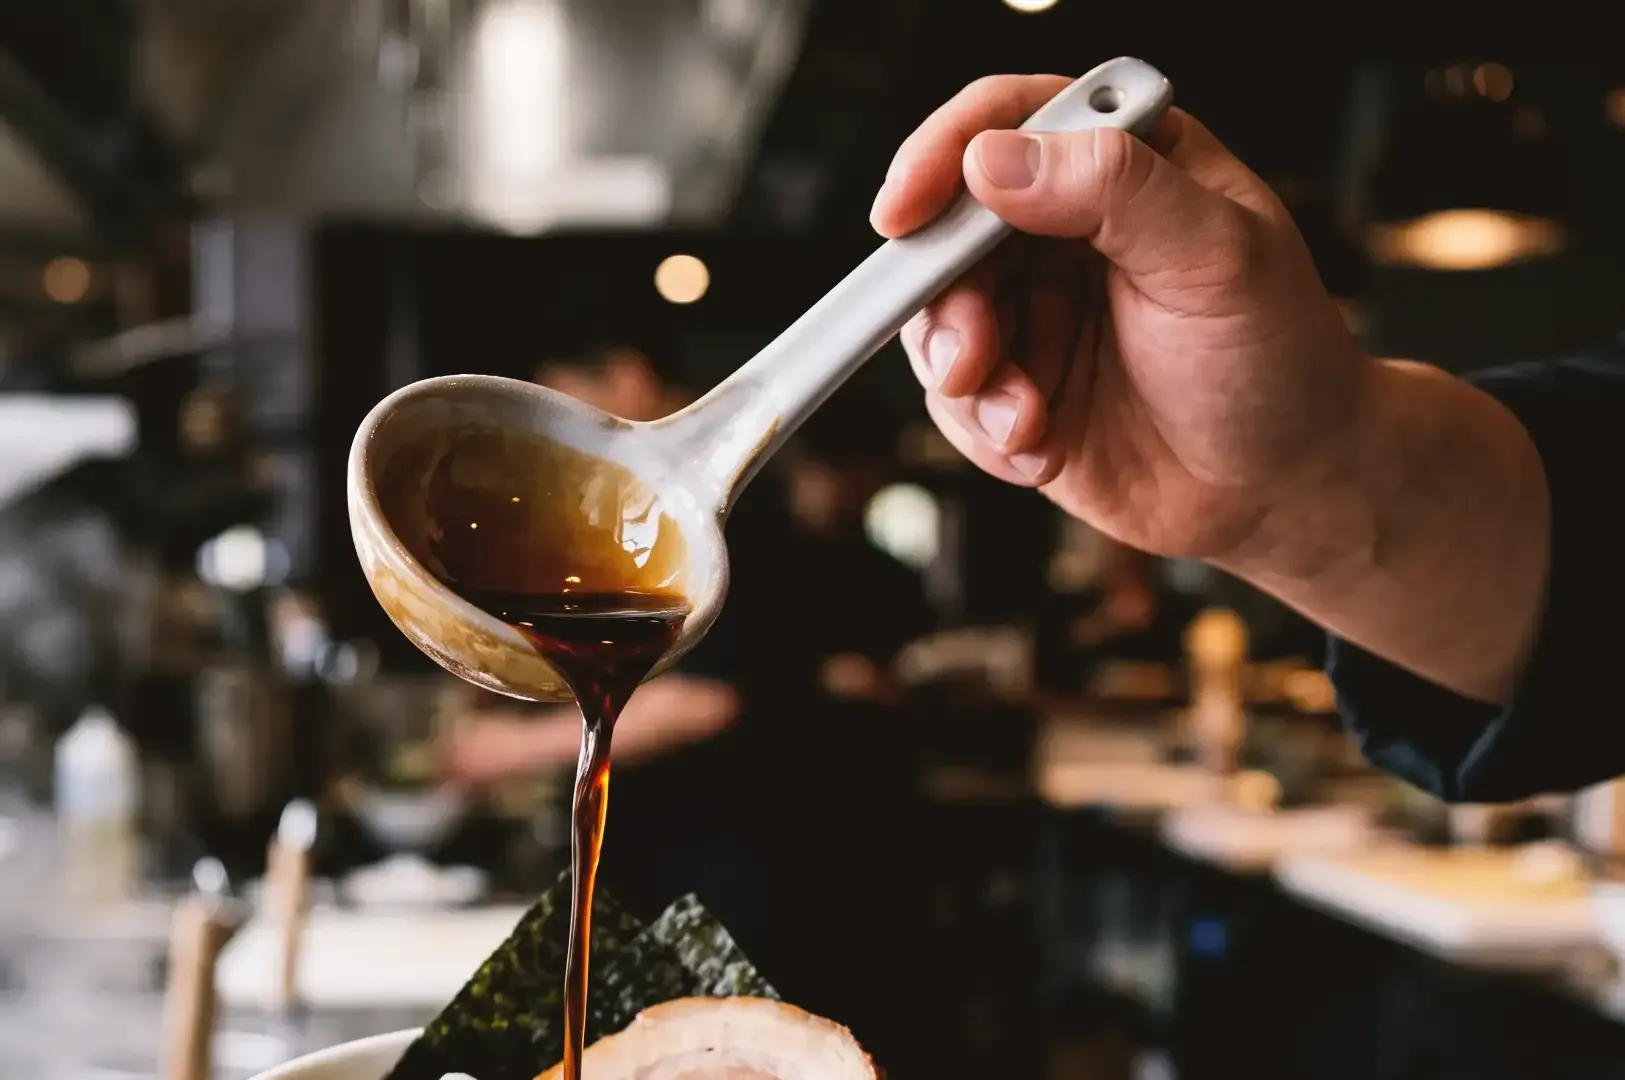
Tare is the concentrated seasoning you put in the bottom of the bowl before adding hot broth. Since the stock is unseasoned, tare needs to be salty and packed with umami. Almost every ramen style builds on three classic tares.
Shio (salt): Combine 1/4 cup dashi, 2 tablespoons sake, 1 tablespoon mirin, and 1 tablespoon salt. Stir until the salt dissolves. Use about 2.5 tablespoons per bowl.
Shoyu (soy sauce): The simplest option. Mix 2 tablespoons soy sauce (kelp-infused if you have it) with 1.5 teaspoons mirin per bowl. If you've made chashu, you can also strain and reduce the leftover braising liquid by half and use 3 tablespoons per bowl.
How to Make Miso Tare
Miso tare takes a little more work, but it's worth it. Blend half a finely chopped onion, a clove of garlic, a tablespoon of chopped ginger, the white part of one green onion, 2 tablespoons natural peanut butter, 1 tablespoon sake, 2 tablespoons mirin, 1 teaspoon chili oil or hot sauce, and a pinch of red pepper flakes until creamy. Cook it over low heat for about 3 minutes, stirring constantly. Turn off the heat, then stir in 1/2 cup miso paste.
Use about 2 tablespoons per bowl. Store it covered in the refrigerator and use it within several days, or freeze portions for longer storage.
Pro tip: Always taste your soup after mixing tare and broth, then adjust with a pinch of salt. Every batch of stock is slightly different.
A Homemade Ramen Recipe for Broth, Step by Step
This is the hybrid pork and chicken method. It makes about 1.6 liters, enough for 4 to 6 bowls.
What you'll need:
- 1 to 1.2 kg chicken carcasses (about 3)
- 1 kg pork soup bones, chopped into smaller pieces
- 1 whole onion, peeled
- 3 green onions (green parts only)
- A 3 cm piece of ginger, halved
- 2 garlic cloves
- 10 g bonito flakes in a spice bag or disposable dashi bag
- A large stock pot (around 7 liters works well)
Step 1: Blanch the Bones
Bring 4 liters of cold water to a rolling boil in your large stock pot. Add the chicken and pork bones and boil water for 10 minutes over high heat. You'll see a lot of grey scum rise to the top. That's exactly what you want to get rid of.
Step 2: Clean Every Bone
Drain the bones and rinse them one by one under cold running water. Remove any coagulated blood, the dark bits along the chicken spine, and anything brown or messy. I know it's tedious. Do it anyway.
Step 3: Start the Real Simmer
Return the cleaned bones to the pot with the onion, green onions, ginger, and garlic. Add 4 liters of fresh cold water and bring it to a boil over medium high heat.
Step 4: Skim Gently
As scum surfaces, scoop it off with a slotted spoon or fine-mesh skimmer. Do this 4 to 5 times. Don't stir the pot while you skim, because moving the bones makes the broth cloudy.
Step 5: Simmer Gently for 2 Hours
Lower the heat until the broth barely bubbles. Cover with a lid, leaving a small gap for steam. Simmer for 2 hours, skimming a few more times early on if needed.
Step 6: Add Bonito Flakes and Strain
Remove the pot from a hard boil, add the bonito flakes, steep briefly, then strain. Remove from heat, then strain the broth through a sieve, keeping only the liquid.
Insider knowledge: For a combination broth, soak 10 g kelp, 10 g bonito flakes, and 5 dried shiitake mushrooms in 1.5 liters of water overnight. Add this dashi to a chicken-only broth near the end of cooking, then simmer and strain. Those extra layers of umami make a huge difference for more flavor.
Assembling Your Bowl and Eating Ramen at Its Best
Put your tare in a serving bowl, add 300 to 400 ml of boiling-hot broth, and stir. Cook your ramen noodles separately in cook mode, drain them very well, and add them to the bowl.
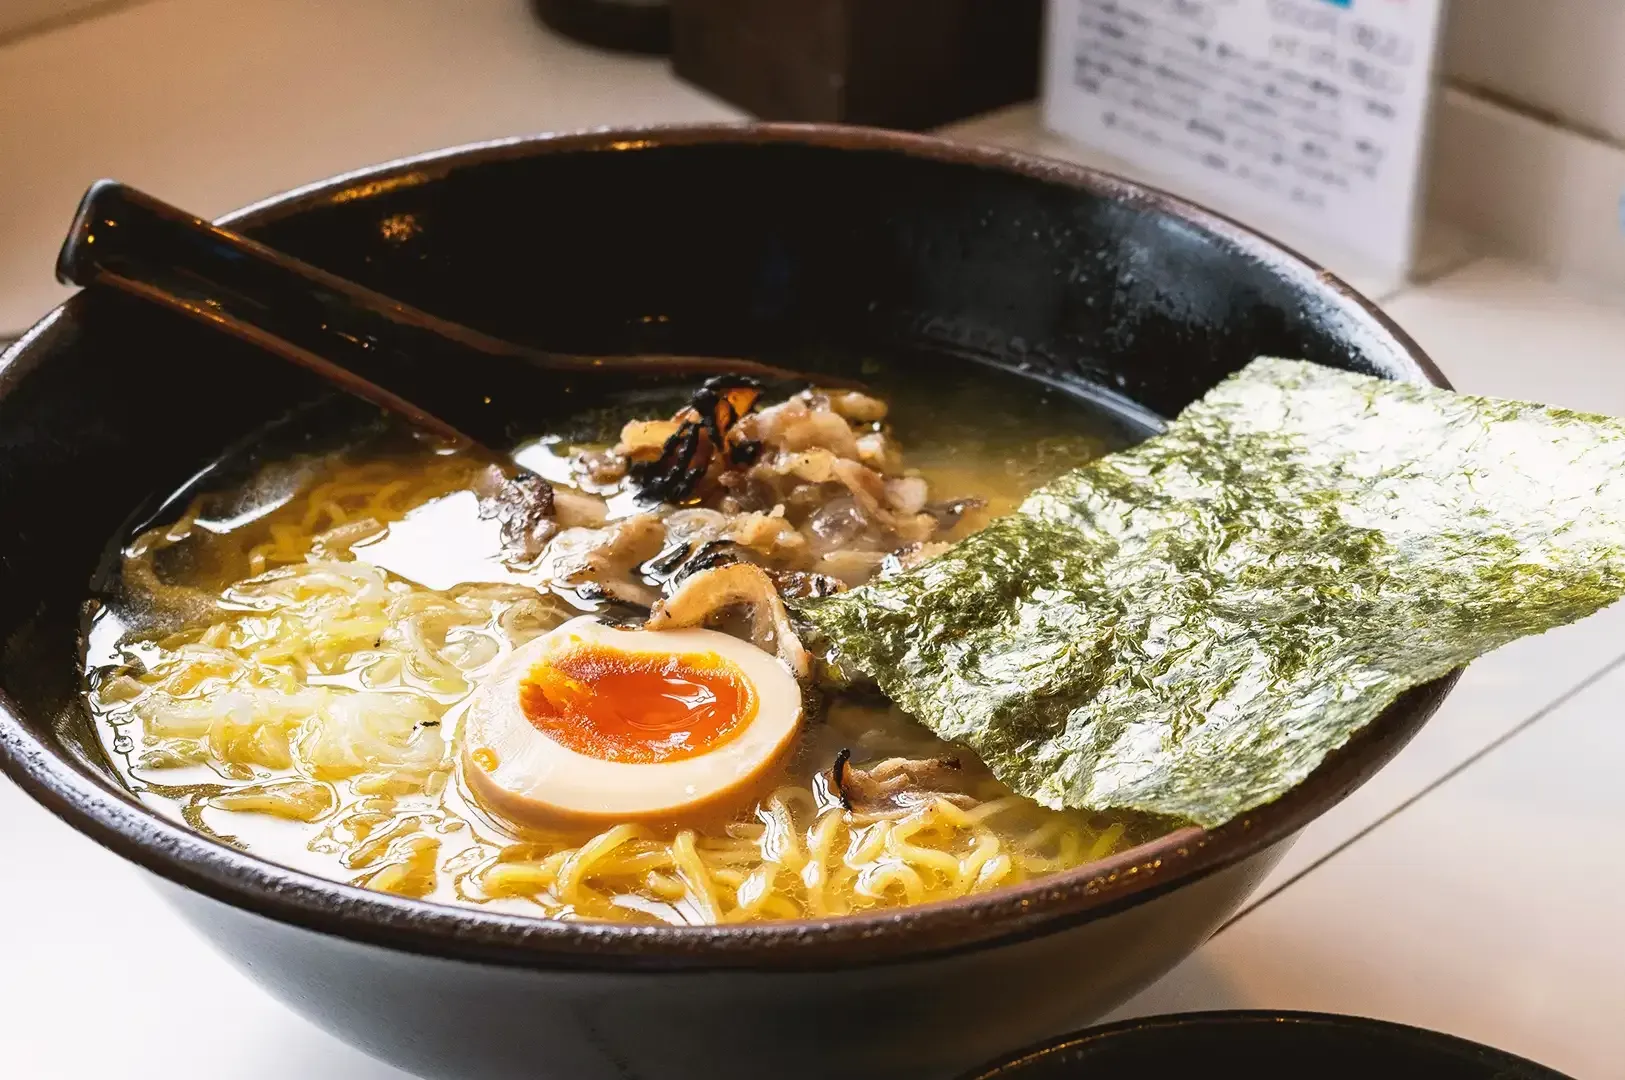
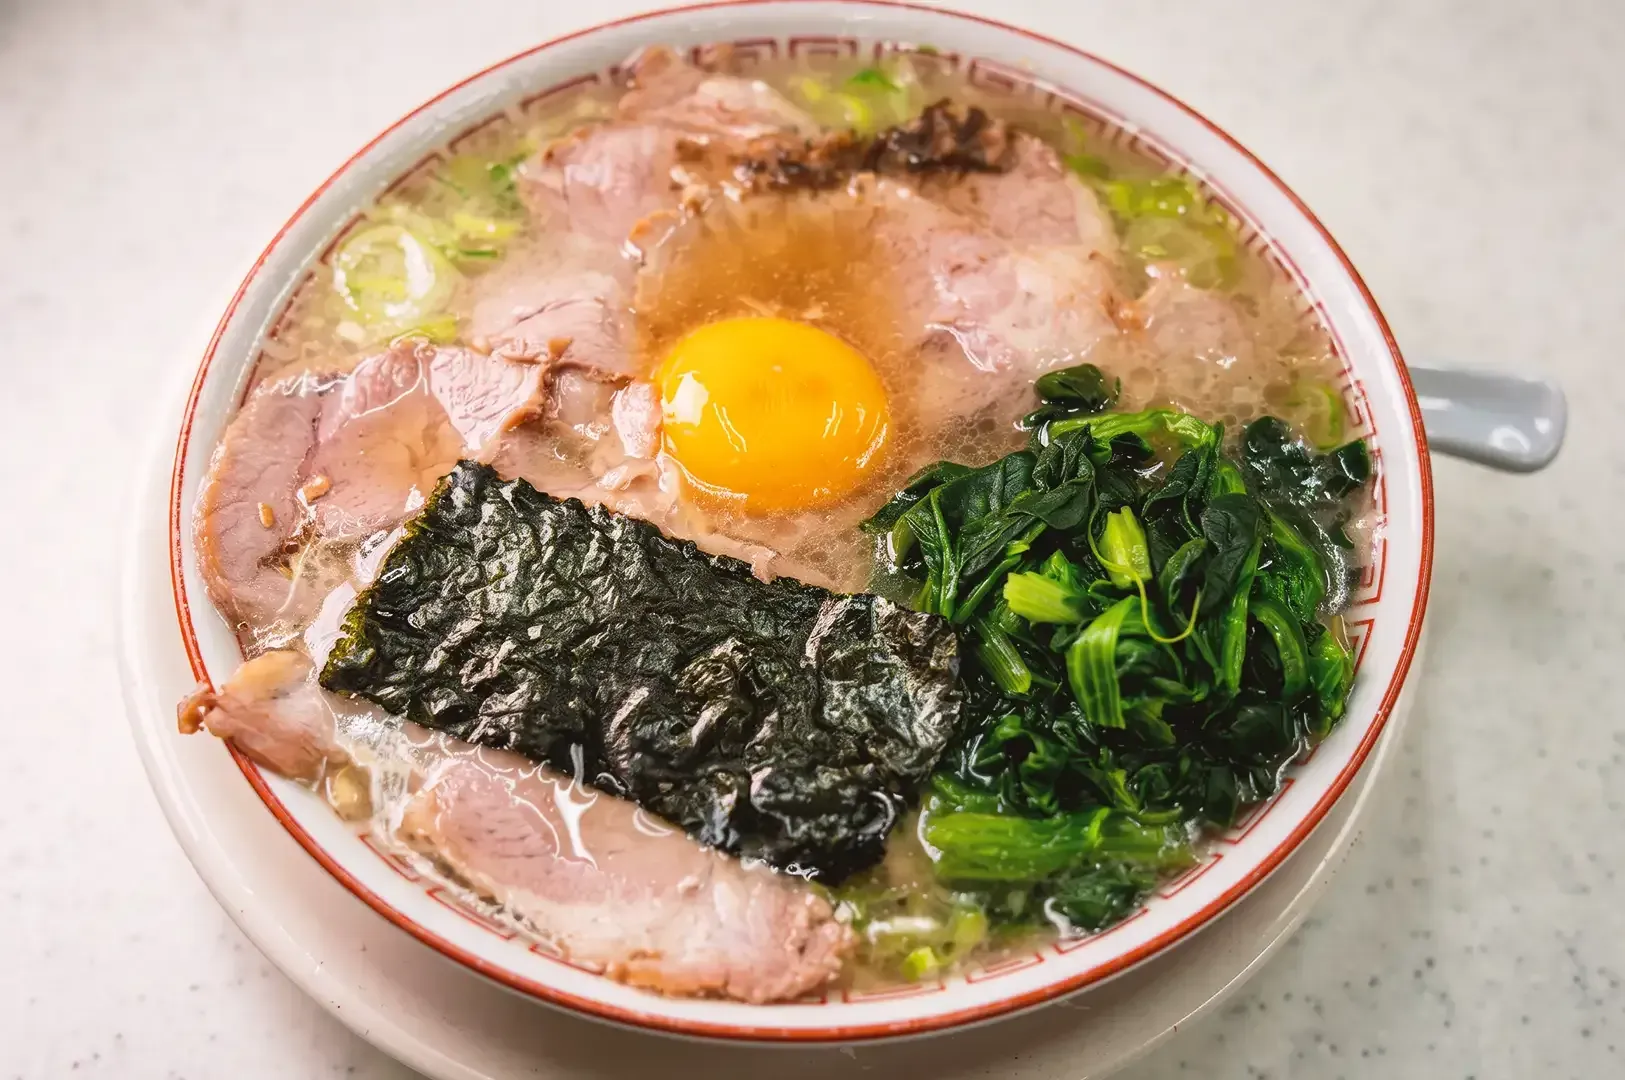
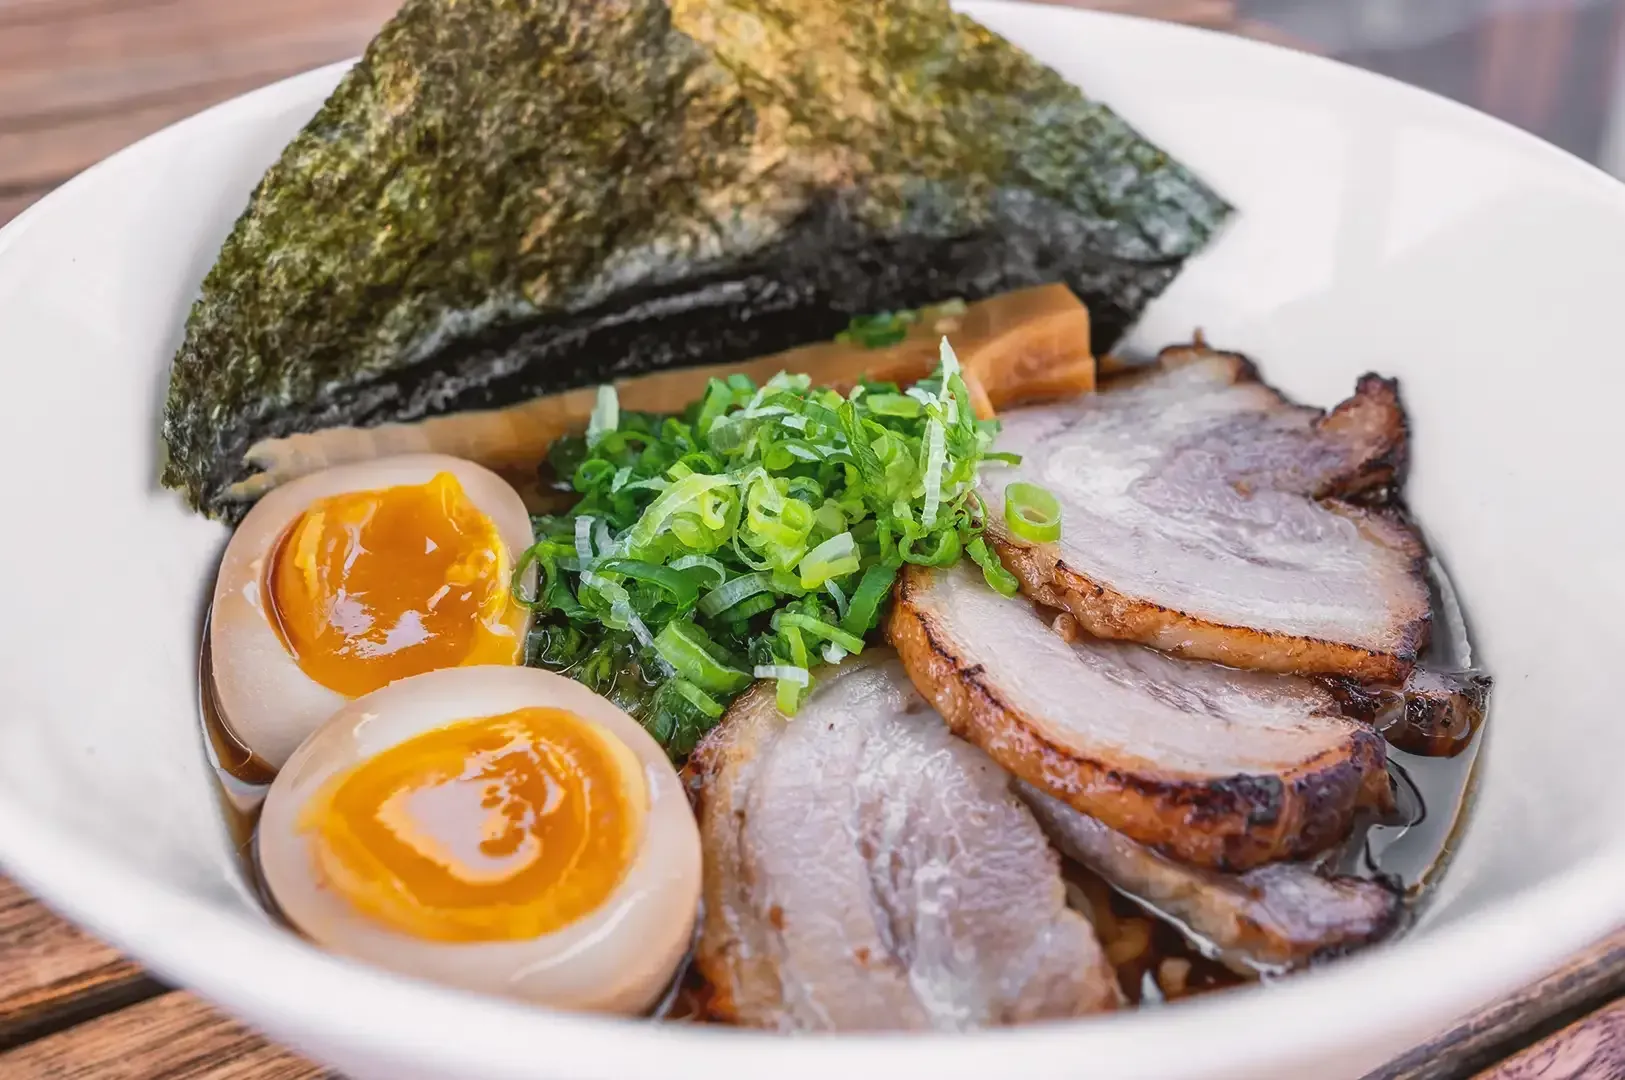
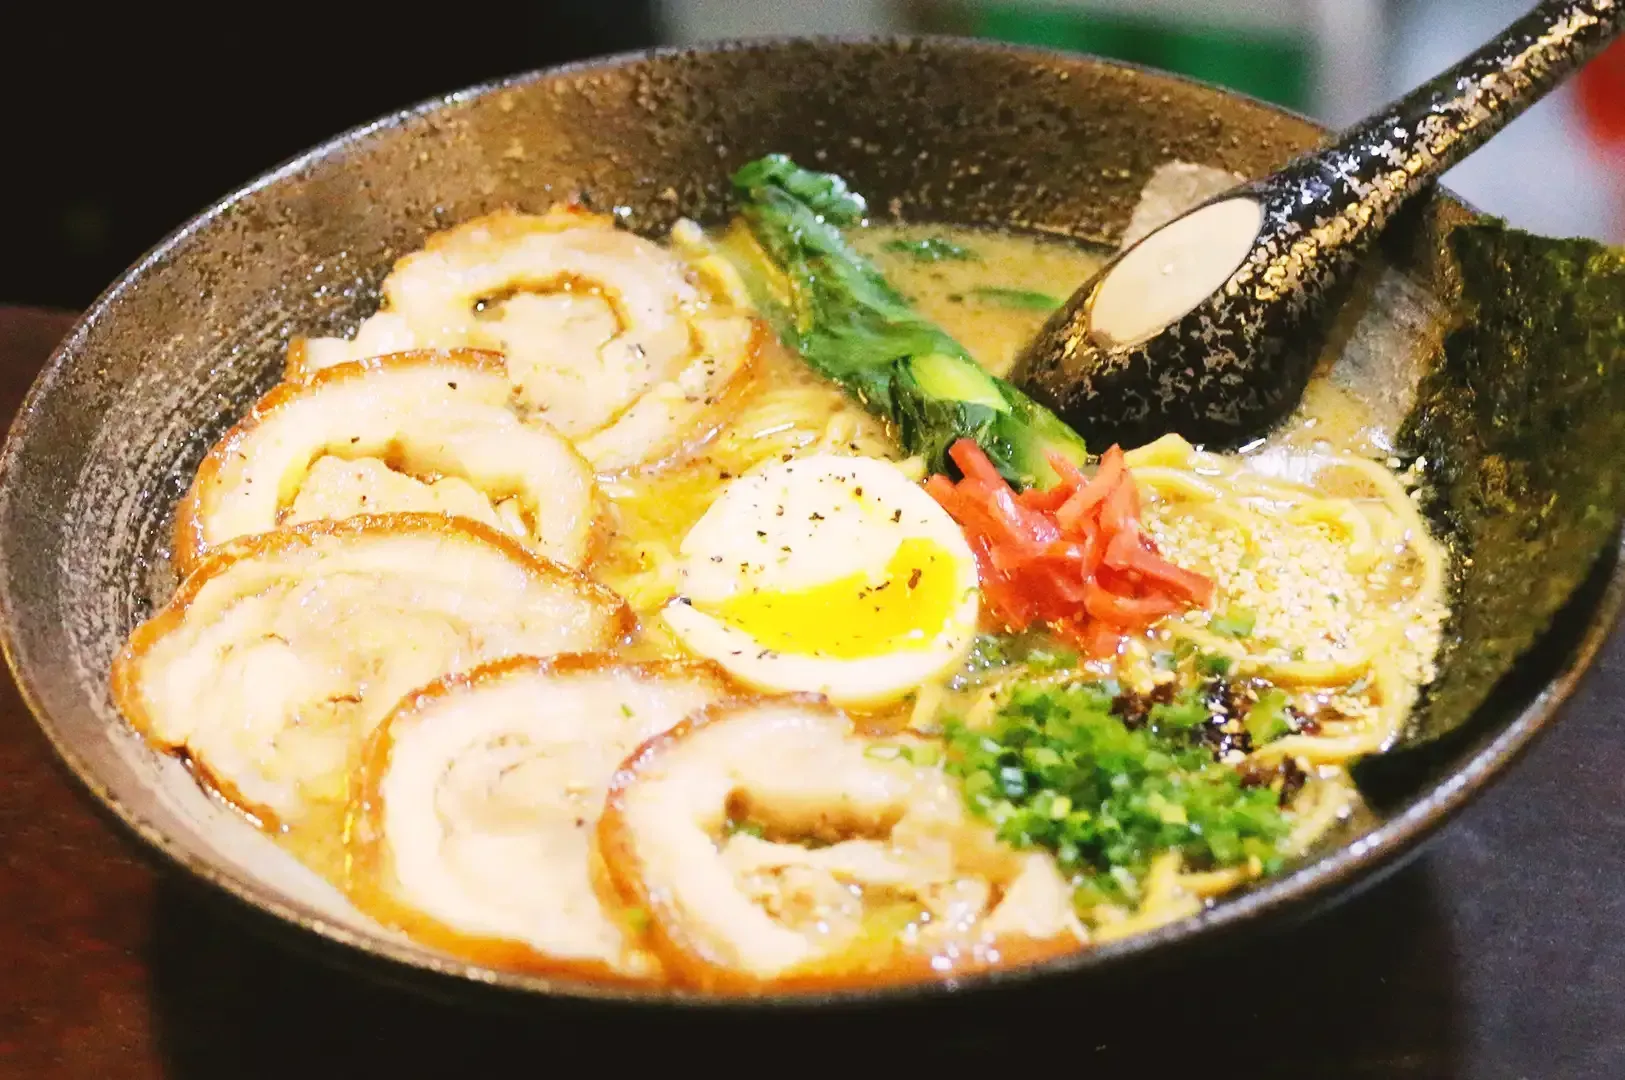
Top with sliced chashu, a soft boiled egg, finely sliced green onions, a few leaves of bok choy, and a sheet of nori. Sprinkle with toasted sesame seeds and a few drops of chili oil or hot sauce for a perfect finish. Serve immediately, because eating ramen is all about that first steaming slurp.
Common Mistakes to Avoid
Skipping the blanching. I did this once to save time. The broth turned grey, murky, and tasted a little off. Blanching and cleaning the bones removes impurities that otherwise end up in your soup.
Boiling too hard. A rolling boil churns everything up and makes the broth extremely cloudy. Unless you're making tonkotsu broth on purpose, keep it at a gentle simmer.
Stirring while skimming. Treat the pot gently. Lift the scum off the surface without disturbing the bones.
Under-seasoning. This was my original mistake. Plain stock is supposed to taste mild. Without tare, you'll have bland soup no matter how long you simmered.
Letting the broth cool slowly. Singapore's heat is not your friend here. Cool your broth quickly before refrigerating, and portion it out so it's easy to reheat..
Beyond the Bowl: Using Ramen Broth in Other Popular Side Dishes
Don't toss the leftovers. Pick the meat off the chicken and use it in fried rice or soups. Slice the softened shiitake mushrooms for miso soup or a quick stir fry. Extra broth makes a fantastic base for any noodle soup, congee, or Japanese ramen.
Frequently Asked Questions
Can I make ramen broth in a slow cooker?
Yes. After blanching and cleaning the bones, add everything except the bonito flakes to your slow cooker with as much water as fits, keeping the bones submerged. Cook on low for 10 hours or high for 6. Strain, reduce if needed, then add bonito flakes for a couple of minutes. A slow cooker can produce a relatively clear broth because the liquid is heated gently with little agitation.
What about a pressure cooker?
Pressure cook for about 80 minutes and let the steam release naturally. It's faster, but Pressure cooking speeds extraction considerably; clarity will depend on how the stock is handled and strained afterward.
Can I use this broth with instant ramen?
Absolutely. Skip the flavor packet, cook mode the instant ramen noodles separately, and pour your homemade broth and tare over them. It's an easy upgrade.
How long does homemade ramen broth keep?
Cool the broth promptly, divide it into shallow containers, and refrigerate at 4°C or below. Use within 3 to 4 days, or freeze for longer storage
Should I cover the pot?
It depends on the method. A slightly vented lid works for the pork and chicken version. Your First Pot of Japanese Ramen Starts Here
Making ramen broth isn't hard. It just asks for patience and a little attention. Blanch your bones, clean them well, simmer gently, and never forget the tare.
Your first batch might not be perfect, and that's okay. Mine certainly wasn't. But each pot teaches you something, and before long you'll have a broth you're genuinely proud of.
So pick a lazy weekend, pop by your nearest wet market, and get that large stock pot going. Good ramen is closer than you think.
This recipe card is your guide to a great recipe for ramen soup broth, perfect for making flavorful broth and delicious ramen at home.
Recent Posts